Your FYTA Beam measures soil moisture via the probes directly in your plant’s substrate. For this raw data to become meaningful moisture readings, the sensor needs a calibration — a conversion curve that defines which reading corresponds to which actual moisture level. This article explains what substrate calibration is all about and how you can use self-calibration to fine-tune it to your own individual substrate.
Table of Contents
1. What Is Substrate Calibration?
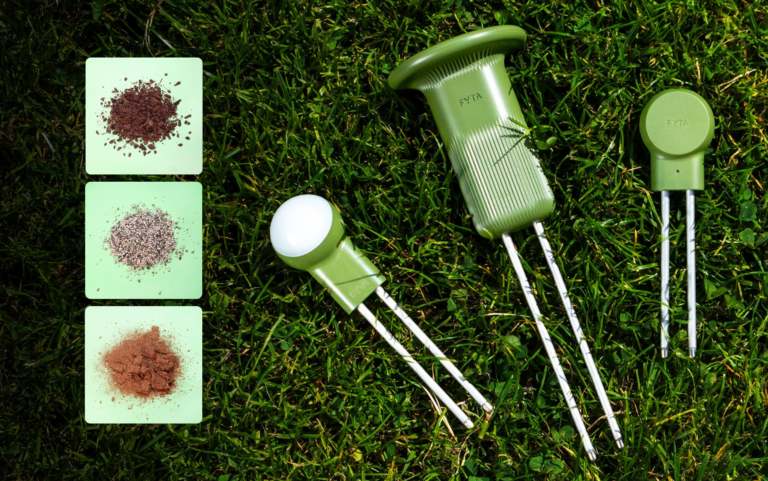
By default, you select a substrate type from a predefined list in the FYTA App — for example, potting soil, coconut coir, or orchid substrate. A general calibration curve is stored for each of these substrate types, and your moisture readings are calculated based on it.
2. Why Does the General Calibration Sometimes Reach Its Limits?
Substrates are natural products, and real potting soil mixes can vary considerably depending on manufacturer, composition, age, and additives like perlite, coconut fibers, or bark chips — in density, conductivity, and water retention behavior. A general calibration curve always reflects an average value for the respective substrate category. This works well for most standard substrates, but with mixes that deviate significantly, it can lead to moisture readings that appear too high, too low, or insufficiently differentiated — even though the sensor itself is working perfectly.
3. How Self-Calibration Works: A Two-Step Process.
Self-calibration consists of two parts: an active step that you carry out yourself, and an automatic calculation step that we handle in the background for you.
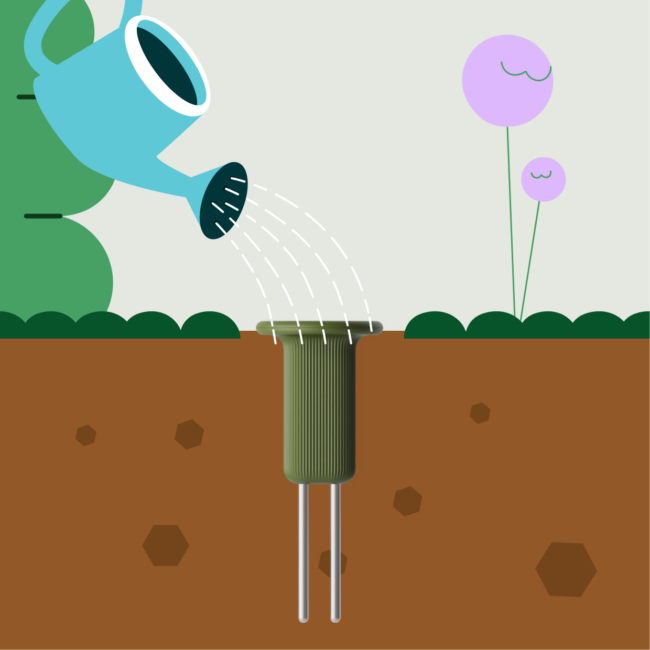
Step 1: Your Active Part With self-calibration, you can fine-tune your sensor even more precisely to the individual substrate in your own pot. Here’s how it works technically: The substrate in your pot is brought to what’s known as field capacity. This means you water multiple times until the substrate is so saturated that it can no longer absorb any additional water. The app guides you through this process step by step. Once you’ve completed the flow, we take over.
Step 2: What We Calculate in the Background Over the following 48 hours, our system continuously analyses your measurements and looks for the highest recorded moisture point during this period. This point corresponds to the field capacity of your individual substrate and is permanently saved as a reference point. Going forward, it will define the upper boundary of your plant’s optimal moisture range. Why do we wait 48 hours instead of simply taking the highest value right after watering? There are two reasons: First, after watering, water often needs some time to distribute evenly throughout the entire substrate – so the actual peak value doesn’t always appear immediately. Second, fluctuations in temperature and humidity affect moisture readings, which means a single data point taken right after watering isn’t necessarily the most reliable.
On top of that: it’s possible that you water again within the 48-hour window – or, for outdoor plants, a rain shower saturates the substrate further. In that case, a later measurement point could be higher than the first. That’s why we don’t use the first high value, but always the highest measurement point within the full 48-hour window as the reference point. This ensures your calibration is as precise as possible. Your calibration is therefore only fully complete 48 hours after saturating the substrate. During this time, you don’t need to do anything – the FYTA system works quietly in the background.
4. For Which Pot Systems Is Self-Calibration Not Possible?
Since the process relies on deliberately, repeatedly saturating the substrate followed by clearly defined drying behavior, self-calibration doesn’t work in every pot system. It’s currently not possible with:
Pots without a drainage hole at the bottom
Self-watering pots with a water reservoir
Semi-hydro systems using expanded clay in closed pots without a drainage hole
The reason: in all of these cases, excess water either can’t drain away, or the system maintains a permanent water reserve. As a result, no clear field capacity and no normal drying behavior can be established — both of which are necessary for the calibration to work reliably.
5. What Advantages Does Individual Calibration Give You?
Individual calibration leads to significantly more precise and reliable moisture readings, because the calibration curve is matched exactly to the real properties of your substrate — water retention capacity, conductivity, texture — rather than to an average value for the category as a whole. This is especially relevant for you if:
you use a self-mixed or atypical substrate (e.g. your own soil-perlite blends)
you use a very coarse substrate (e.g. orchid substrate with bark chips)
your substrate deviates significantly from the average for its category
your substrate is already somewhat older
you’ve been noticing unusual or implausible readings with your current substrate type for a while
The general calibration curves already work well for most standard substrates — so self-calibration isn’t a feature you necessarily need to use. It’s rather the targeted solution for cases where the standard calibration demonstrably doesn’t fit your individual substrate.
6. How Do You Find Out That Self-Calibration Could Be Useful for You?
Our system has detected that your readings are behaving unusually — this, or something similar, is how the self-calibration prompt appears in the app. A banner appears above the moisture graph of the affected plant as soon as the system determines that self-calibration would likely improve your readings, because the general calibration for your selected substrate type doesn’t seem to match your actual substrate. In addition, the app displays a care tip on the home screen that also points out the option of self-calibration.
7. When Should You (Re-)Calibrate?
A (re-)calibration makes sense in the following cases:
When you repot or change the substrate
When the length of your probes changes, for example because you’ve repotted into a larger pot
When your readings behave unusually
When your initial calibration didn’t lead to any improvement in your readings and a sensor defect has already been ruled out




 FYTA
FYTA